Published July, 2015 by Morgan Hargrave in Update
Use This App to Film the Police… Or Not
Originally published July 2015, Updated March 2021
As videos documenting police violence continue to cycle in and out of the news in the U.S., tech coverage has followed with stories of emerging apps focused on helping people document those abuses. While it’s important that videos of police abuse have led to mass mobilizations, global outcries for justice and some reforms to policing, it also means there’s a lot of hype around new tools aimed at contributing to a solution. For the activist who wants to be ready to film police encounters, it’s worth sorting through the hype to understand what you’ll want to have in your pocket, and know how to use, if you find yourself an eyewitness to abuse.
If you do decide to pursue an app for filming the police, keep in mind that these technologies can come and go. Some apps are from established organizations who work on the issue of police accountability, such as the ACLU’s MobileJustice, which builds on their previous Stop-and-Frisk and PoliceTape apps. But many projects from individual developers or small teams end up being unsupported a few months or years later (i.e. this blog originally pointed to Power, Fi-Vo Film, Swat, and Hands Up, all of which are no longer available).
As a first step in deciding whether or not to use an app, ask yourself some of the questions outlined in this blog post, such as: Who made the app and do I trust them? Where will the data be stored? Does the app encrypt my media?
Next, here are some important features to assess in the apps that you’re exploring:
Remote backup: It doesn’t take much straining to think of why this feature could be valuable, whether it’s accusations of police confiscating devices and deleting footage or just the possibility of the commotion during a protest or other police interaction ending with a broken or lost device.
Storing footage with the app-maker: This is a subset of the remote backup features, and again, you can see why it would be helpful to get important footage to organizations who can take action. But there are also concerns here. Ceding control of your footage means you may not have a role in the decisions around if and how it’s used, and unless it’s an established organization like the ACLU, it’s uncertain whether they have the capacity or skills to take effective action even if they decide to.
Surreptitious filming: Another way to address the concerns that your footage may be maliciously deleted by authorities is to not let them know you’re filming in the first place, and a few of these apps allow for that by recording in the background or keeping the screen dark as they film. There are a few problems here, though. First, it’s hard to film a good video without holding your phone properly and focusing on what you’re doing. Second, it’s safer to be clear about your actions and reasons for approaching a police stop as a third party (or reaching into your pocket as someone directly involved). And third, the act of filming the police is valuable in large part because it can act as a deterrent and a gesture of solidarity, and that doesn’t work if you’re hiding it. Be confident that you’re in the right, exercise your freedom to film, and be visible about it.
Geotagging: This is a great trend, and one that WITNESS is actively trying to advance through training, tech advocacy, and the CameraV tool. The more verifiable context you can provide about your footage, the easier it will be to find it, understand it, trust it, and act upon it, meaning it is more likely to make an impact as a tool for advocacy and evidence.
Guidance: This is where the established organizations do a great job. The ACLU gives plenty of information on what you’re legally allowed to do and how you should safely exercise your rights. This is important information and could go even further by adding tactical and advocacy tips about when and how to film and what to do with the video you capture. It also doesn’t apply everywhere, since d MobileJustice has only been rolled out with legal guidance tailored for a few states, but it’s a great start.
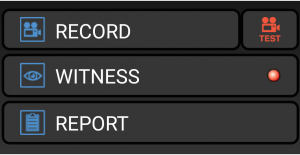
Screenshot from the ACLU of Missouri’s MobileJustice
Here’s the thing about this list of features: they are aimed at underlying security, rights, and sharing issues that we all can and should be addressing anyway, outside of a dedicated app. That’s especially true since it’s important to be comfortable in the heat of the moment, when finding, opening, and using an unfamiliar tool that you rarely use is a great way to make mistakes. There’s a reason that most of the video activism we see in WITNESS’s work around the world is conducted with the same devices, apps, and online platforms that people use in the other parts of their lives everyday.
Filming police encounters safely and effectively without a dedicated app
For those who often encounter and document police activity, it may be a good idea to try out some of these apps, see which features work for you, and give feedback to the developers, even if an app takes some getting used to or doesn’t quite work as hoped yet. But many of us are better off ensuring that some basic settings on our devices give us a secure and reliable workflow that would serve us well in the case of witnessing an instance of police violence or other abuse.
1) Secure your device: Let’s start simply. The first step is to make sure our devices are secured with a passcode (not TouchID), making it harder for anyone, including a police officer, to get in and delete anything.
2) Make sure you have storage space: Smartphones take HD or 4K video these days, and that can take up to 200MB of space for every minute of footage, meaning a five-minute video could have you approaching 1GB of space. Since it’s best to film as much of an incident as possible from beginning to end, you may end up needing even more space than that; for example, the full video of Eric Garner’s death is over 11 minutes long. And even if you have a remote backup set up in the cloud, your phone will still need space to store the video locally.
3) Automatic backup: You’ll want to further protect that video so you will still have access to it should anything happen to the original or to your device. Make sure you have an automatic backup running with iCloud, Google Photos, Dropbox, or another option. It was an automatic backup that preserved Kianga Mwamba’s footage of police abuse when her original video was allegedly deleted. These services work pretty instantly, but you’ll want to make sure your phone is set to upload over data and not just wifi–otherwise that video you shot on the street in the morning may not be backed up until you get home to your wifi later that night.
4) Know your rights: These final two steps are the hardest, and several of the apps we’ve looked at are trying to address them. Filming the police, especially when they overstep their bounds, can turn into a stressful situation. In that moment it is important to know your rights so you can exercise them effectively. In the U.S., your right to film the police in the course of their duties is unequivocal, as long as you aren’t interfering with their actions. Resources from the ACLU, Communities United for Police Reform, and the EFF are a great place to start learning the parameters of those rights.
5) Consider how and when to share footage of abuse: If you do film police misconduct, you will want to think hard about the best way to put that footage to good use. That may involve posting it to social media right away, but it often won’t. After Feidin Santana filmed the police killing of Walter Scott in Charleston, for example, he waited until after a police report riddled with falsehoods was released, and the impact was that much more powerful because of it. Ramsey Orta, who filmed Eric Garner’s death in Staten Island, has also spoken about how he regrets not sharing his video in a more anonymous fashion because he has faced scrutiny and harassment in the year since. It is important to think through the implications of sharing your video publicly or with a lawyer, the media, or a victim’s family.
6) Download our full tip sheet on filming the police here.
It’s great to see developers and advocates creating tools to keep important footage safe and make it actionable, and hopefully their tools will help create clear and consistent avenues for eyewitnesses to report police violence and misconduct. In the meantime, try a couple of these out to see which ones work for you, let the creators know what you think, and take some basic steps to make sure your device is ready for witnessing.
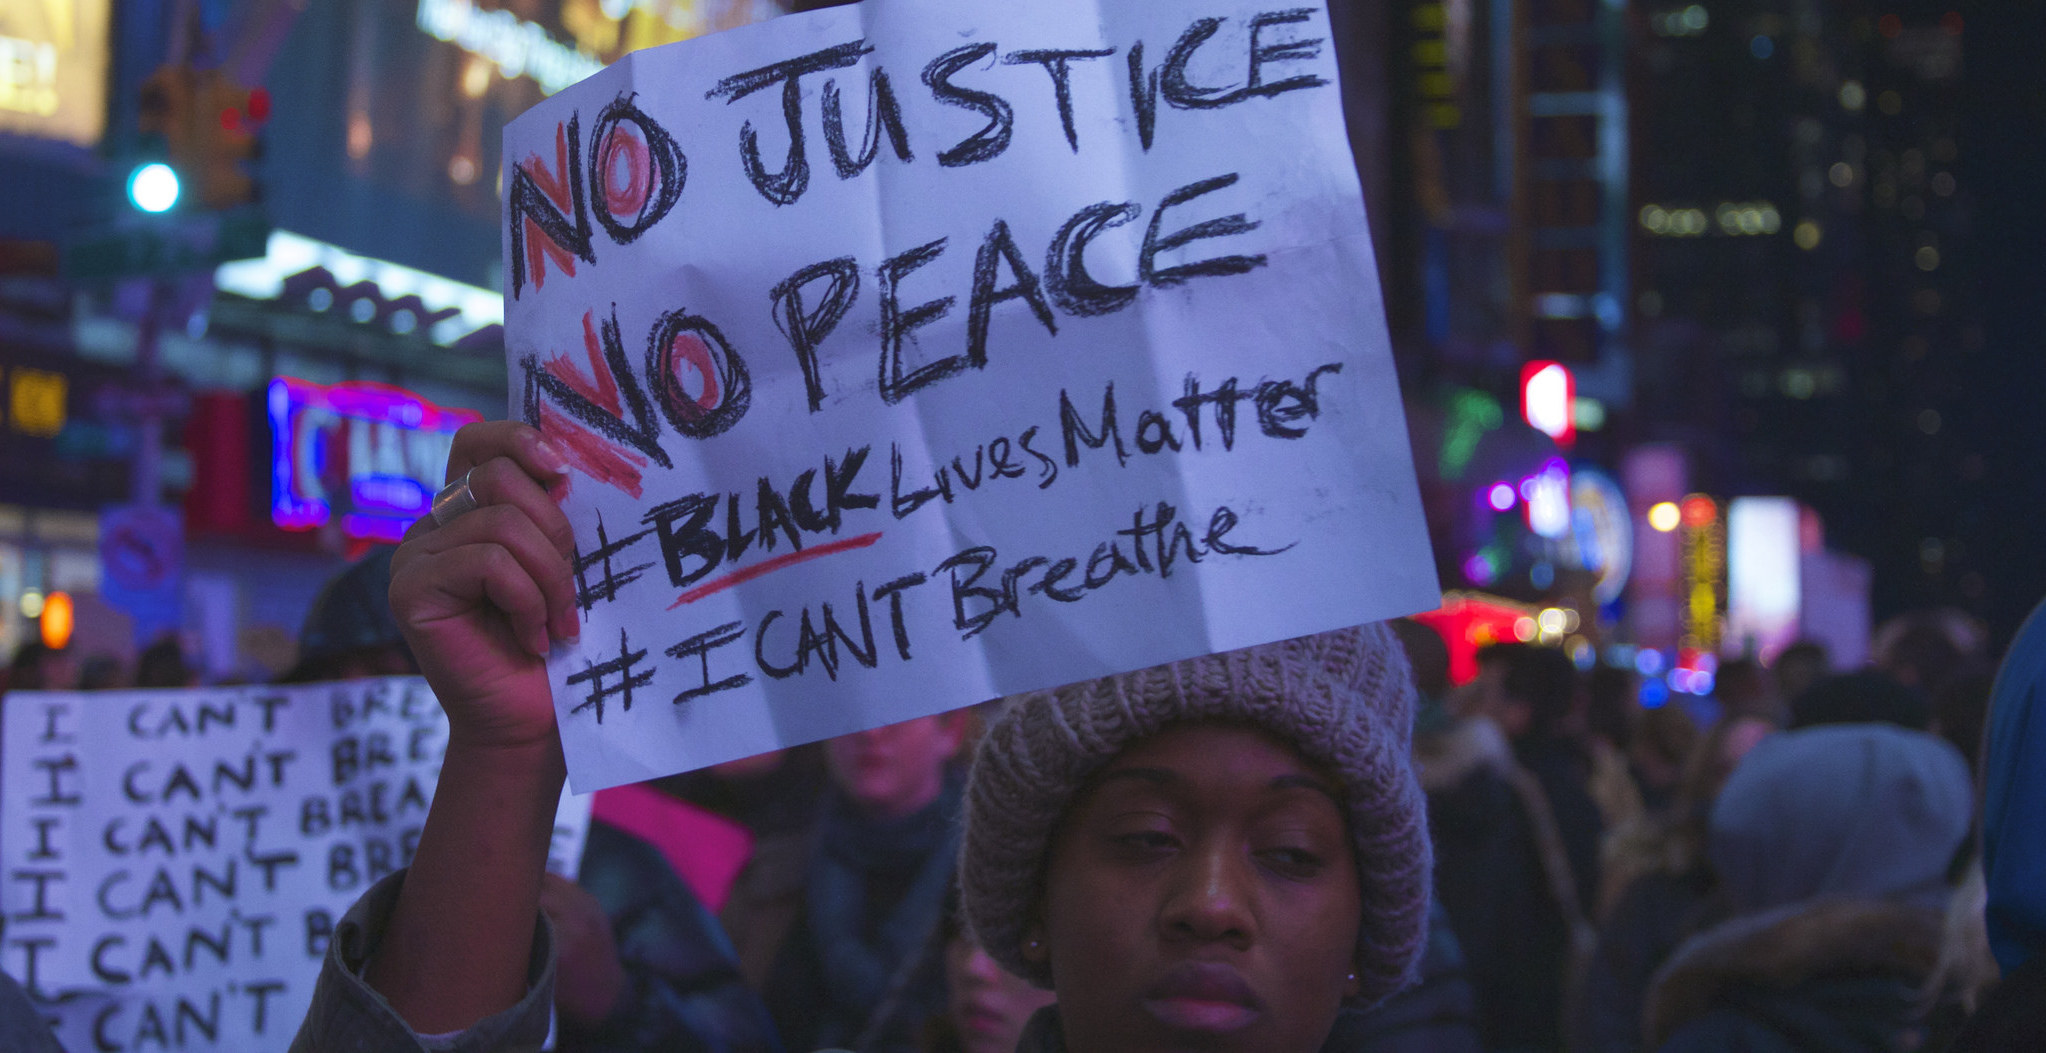
Top image CC by Flickr user Paul Silva.